THESE INSTRUCTIONS ARE VERY IMPORTANT TO SECURE YOUR WIRELESS NETWORK
The purpose of this procedure is to "lock" your router so other users can not access your network without your permission.
Because there may be other wireless users in your area, BTES suggests the following settings to be made on your wireless router or access point. These instructions are based on a Linksys WRT54G wireless router, but the settings should be similar on other brands or models.
For assistance with your Internet or cable TV, please call 793-5555 for technical support.
The main things that need to be set up are:
Optional settings include MAC address security.
These are key settings to secure the wireless network and make it function at its best.
To set these up, follow the instructions below. If your computer is already connected to the router, either wired or wireless, you will need to know the IP address. If not, you will need to connect the computer to the router to configure it.
To get your IP address, click Start, then Run. Enter cmd at the Run prompt. You will see a command prompt window. Type ipconfig and press Enter. Your IP address and gateway should be displayed. Write these down. The IP address should start with 192.168.100 or 192.168.1. The gateway will most likely be 192.168.100.1 or 192.168.1.1. This is the address of the router.
To log on to the router, open Internet Explorer (or your web browser) and browse to the IP address of the router. The default IP address should be 192.168.1.1 or 192.168.100.1. The username should be admin and the password should be admin. Log on to the router and click on the Wireless tab.
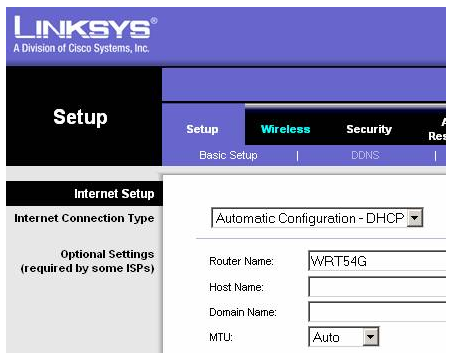
This is part of the main screen you will see when you log on. Click on the Wireless link.
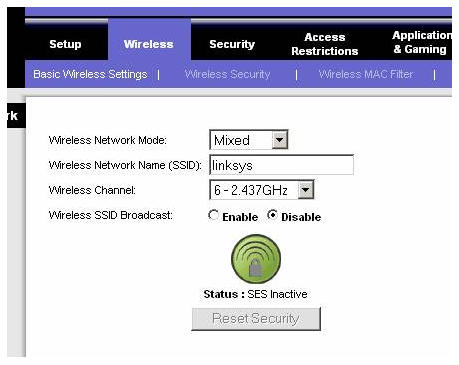
Change the Wireless Network Name (SSID) to something other than linksys – use your last name, for example.
Click Save Settings at the bottom of the page.

Wireless SSID broadcast enables the router let other computers connect without having to know the SSID. This is insecure, and we recommend disabling this. However, you will need to know the SSID when connecting your PC to the wireless network.
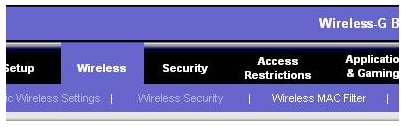
Next, click on the Wireless Security link.

Set the security mode to WEP and select 128 bits encryption.
Enter a passphrase, again you can use your last name, or whatever you choose.
Click Generate and note what is displayed in Key 1. Write this down along with the passphrase and SSID. You will need these for the PC setup. Also write down your passphrase. Depending on how your PC is configured, you may use either the passphrase or key 1.
Click Save Settings at the bottom of the page.
When setting up the PC, be sure to enter the SSID and WEP key in order for the PC to be able to connect to the router.
Optional (but more secure): Wireless MAC filtering
In the router configuration, go into the Wireless configuration screen. Then click on Wireless MAC Filter.
You will see the Wireless MAC filter screen.
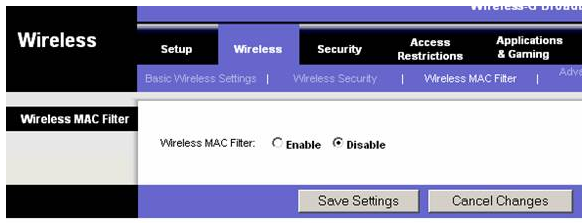
Click Enable to turn on Wireless MAC filtering.
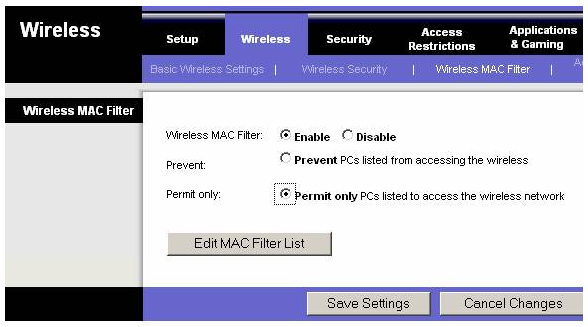
Click Permit only, then click Edit MAC Filter List.
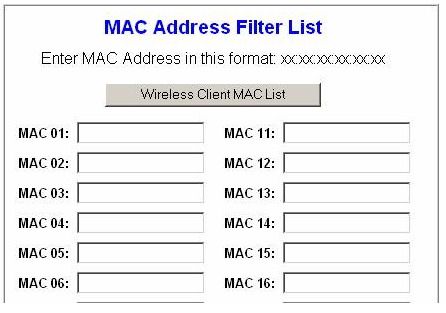
Click the Wireless Client MAC List button.
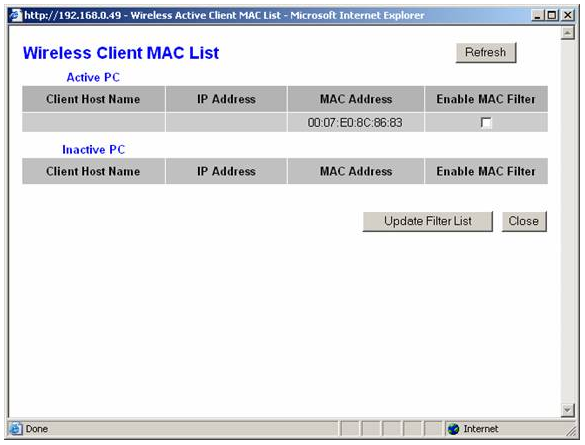
You should see a MAC address listed along with its IP address (not pictured here). The IP address should match the one from the initial step in configuring the router (from ipconfig). Click the Enable MAC Filter checkbox, then click Update Filter List. Scroll down to the bottom of the MAC filter list window and click Save Changes. Click Continue when you get the Settings are successful message. Close the Wireless MAC filter list window. Click Save Settings on the main Wireless MAC filter window.
Once this is done, you can close your browser.
Click on Start, then Control Panel (Control Panel may also be under Settings).
Double click the Wireless Network Setup Wizard.
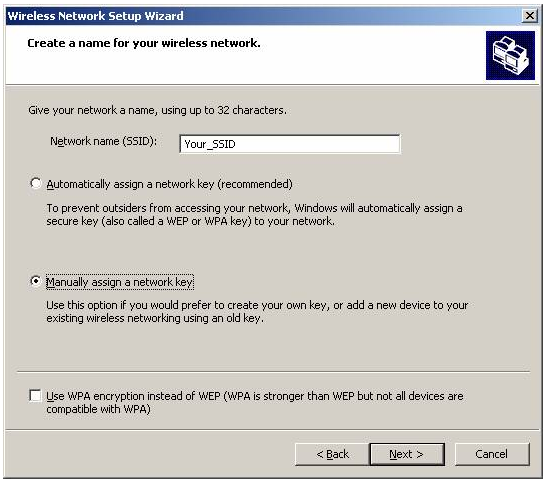
Enter your Network name (SSID) that you chose in the router setup.
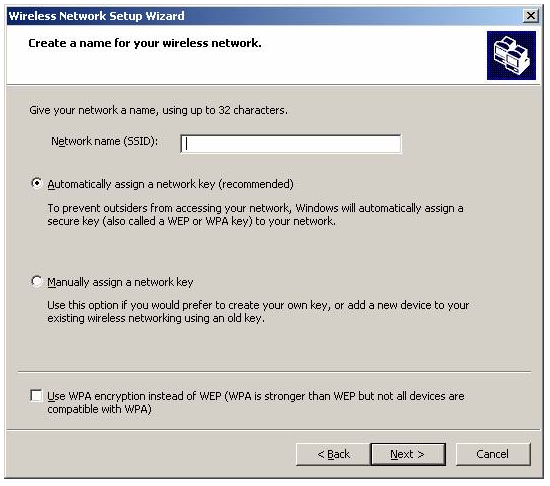
Select Manually assign a network key.
On the next screen, you will enter the WEP key that was generated during the router setup. Uncheck “Hide characters as I type” to be able to see the key as it is being entered. You will have to enter it in the line below to confirm it.
Click Next.
Click the option to Set up a network manually, unless you are familiar with the USB flash drive option.
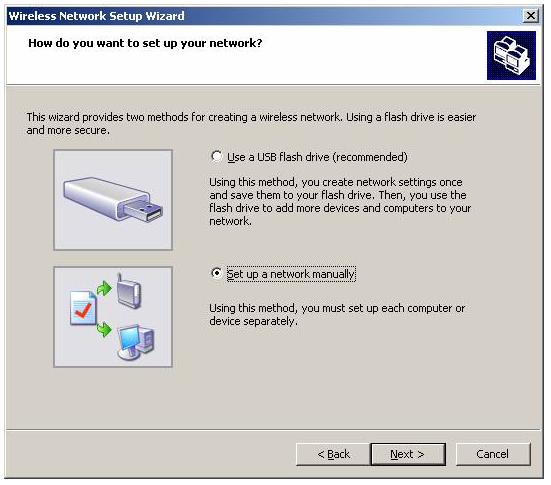
Click Next.
You may optionally Print the network settings for reference by clicking the Print Network Settings button.
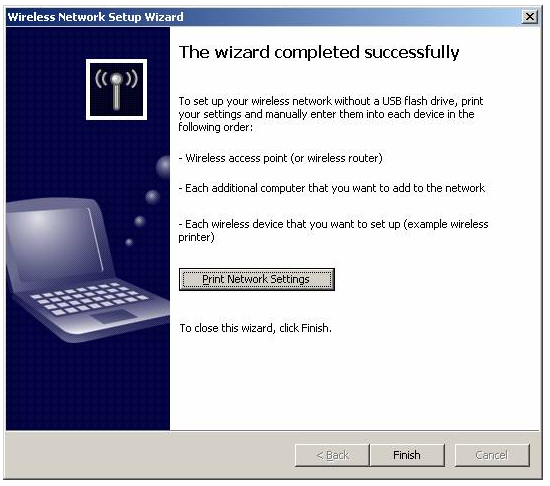
Click Finish to complete the setup.
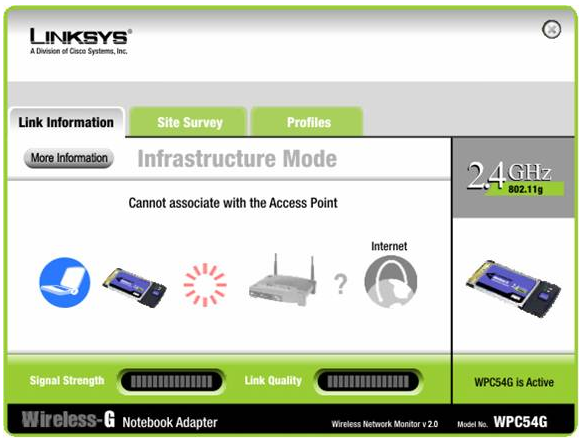
Wireless PC Setup – Linksys Software
Double click on the Linksys icon in the tray next to the clock. It may be blue, green, or white.
Click on the Profiles tab.
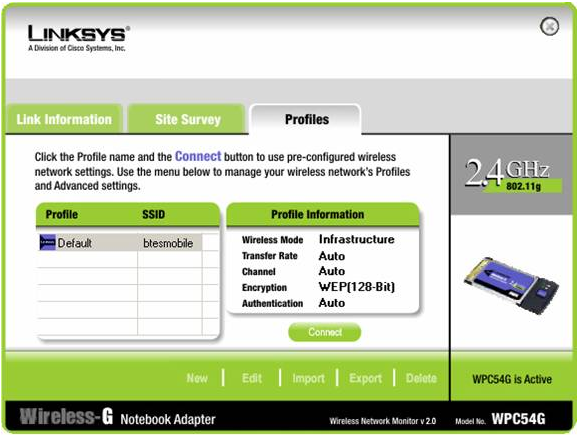
Click New to create a new connection.

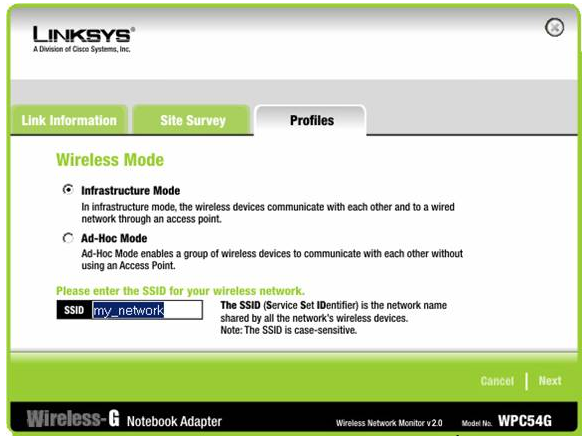
Enter the name you wish to call this network connection, then click OK.
Select Infrastructure Mode, then enter the SSID you used in the router setup.
Click Next.
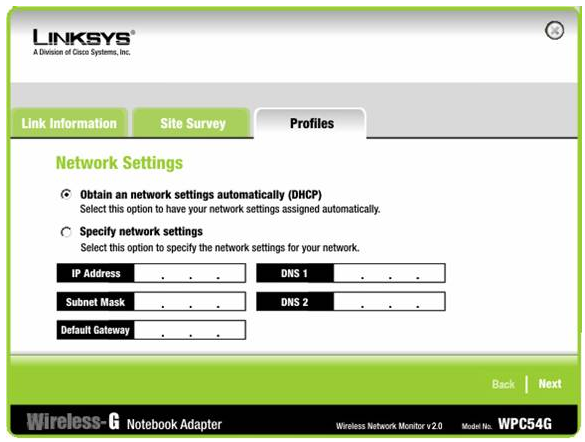
Select Obtain network settings automatically.
Click Next.
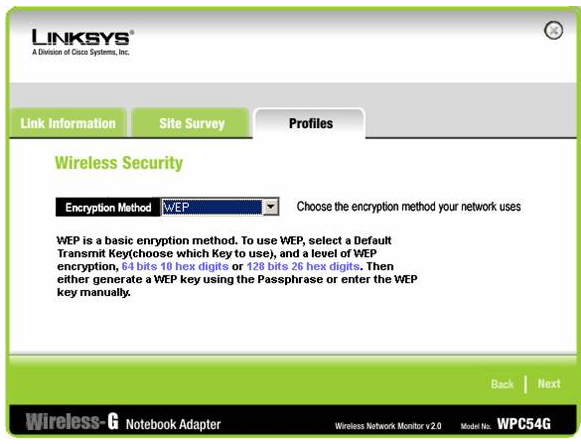
Select WEP as the encryption method.
Click Next.
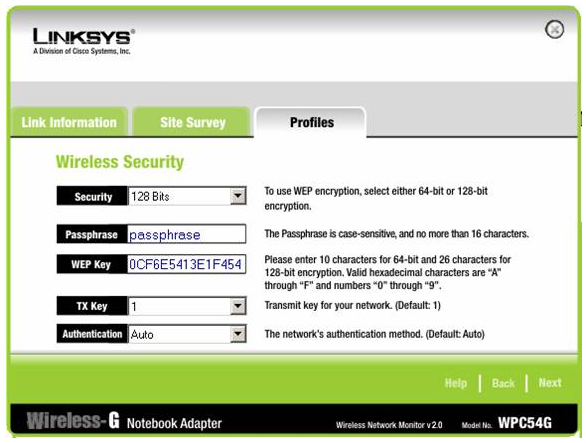
Set Security to 128 bits and enter the passphrase you selected in the router setup.
Make sure TX key is 1 and Authentication is Auto.
Click Next.
Click Save to save your settings.

Click Connect to Network to go online